


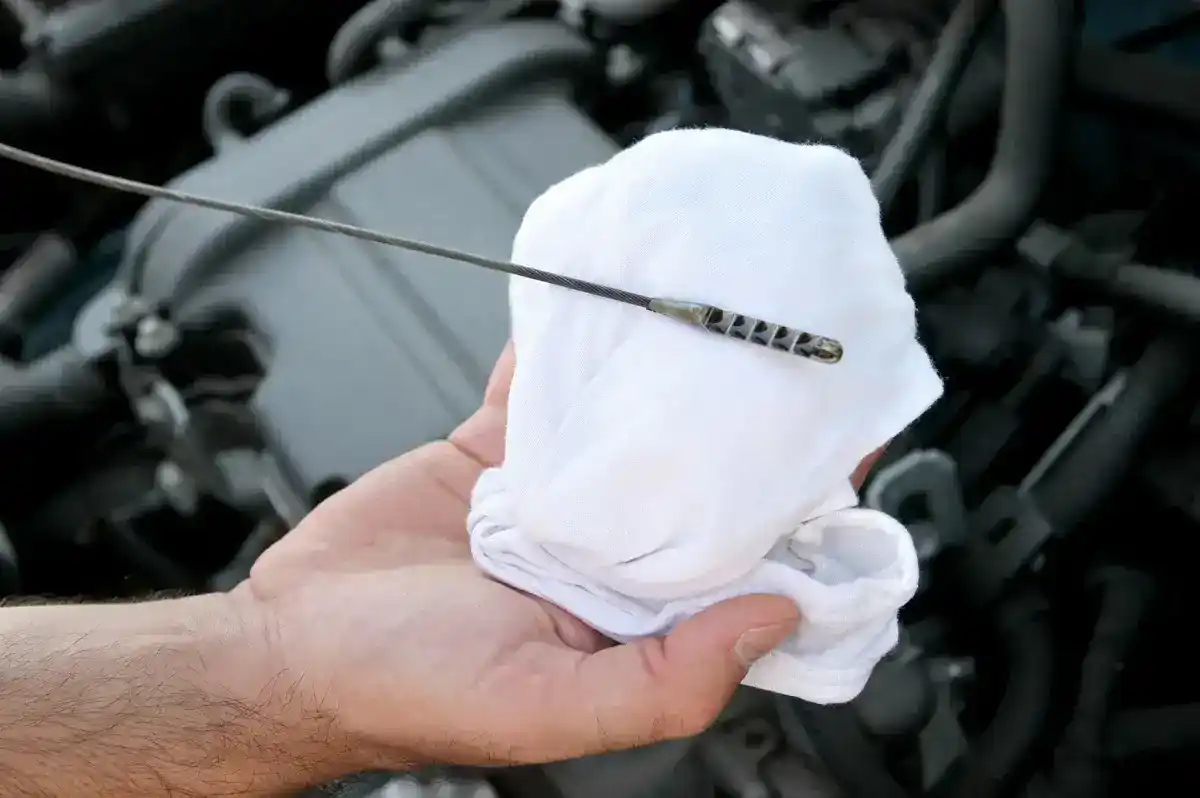
Engine oil gets plenty of attention, but bike brake fluid is mostly ignored until we feel braking inefficiency.Because brake fluid absorbs moisture over time, its performance gradually declines, affecting how efficiently your brakes respond. Understanding when to replace it is an important part of routine bike maintenance.
This guide explains how brake fluid works, when it should be changed, the differences between DOT 3 and DOT 4, the signs it's time for a replacement, and whether you can change it yourself.
What Is Bike Brake Fluid?
Bike brake fluid is the hydraulic fluid that powers your motorcycle's braking system. When you squeeze the brake lever or press the brake pedal, the fluid transfers that force through the brake lines to the callipers. The callipers then push the brake pads against the disc, slowing or stopping the bike. Without brake fluid, hydraulic disc brakes cannot generate the pressure needed to work effectively.
Unlike engine oil, brake fluid isn't designed to lubricate moving parts. Its primary job is to transfer hydraulic pressure quickly and consistently, ensuring quick response and reliable braking. Because of this, using the correct type of brake fluid and keeping it in good condition is essential for safe braking performance.
What Are Different Types Of Brake Fluid Available?
Brake fluids are classified by DOT ratings set by the US Department of Transportation. These ratings define the minimum boiling point a fluid must meet, both dry (fresh fluid) and wet (after it has absorbed moisture).
For bikes in India, the two you'll encounter most are DOT 3 and DOT 4 brake fluid. The table below highlights the key differences to help you choose the right brake fluid for your motorcycle.
DOT 3 Brake Fluid vs DOT 4 Brake Fluid: Comparison At A Glance
| Feature | DOT 3 | DOT 4 |
| Dry Boiling Point | 205°C | 230°C |
| Wet Boiling Point | 140°C | 155°C |
| Base Fluid | Glycol ether | Glycol ether + Borate ester |
| Moisture Absorption Rate | Higher | Lower |
| Suitable For | Older or lighter bikes with basic disc/drum setups | Most modern bikes with disc brakes, sport use, humid conditions |
| Compatibility | Can be topped up with DOT 4 | Do not mix with DOT 5 (silicone-based) |
For most bikes in India, especially those doing city commutes in heat and humidity, DOT 4 is the more capable choice. Its higher wet boiling point (155°C vs 140°C for DOT 3) means it holds up better after absorbing moisture.
💡 Tip:
Your bike's reservoir cap has a DOT rating printed on it, that's the grade you should use. Don't upgrade or downgrade without confirming compatibility with your bike's braking system.
Signs Your Bike Brake Fluid Needs Changing
Your brake fluid rarely announces itself with a dramatic failure. It degrades slowly. These are the signs to watch for:
- Dark or brown fluid: Healthy fluid is pale and clear. Dark fluid has absorbed too much moisture and lost its protective capacity.
- Soft or spongy brake lever: If the lever feels mushy rather than firm, air or vapour is present in the hydraulic line. This is often a sign of moisture-compromised fluid.
- Inefficient braking response: You're squeezing harder for the same stopping power you used to get with less effort.
- Brake fade: Braking performance drops noticeably during extended use, such as in slow stop-and-go traffic or a long downhill stretch.
- Longer stopping distance: The bike takes more space to stop than it used to. On wet roads, this gap matters more than it looks.
- ABS warning light: (where applicable): If your bike has ABS and the warning light comes on, degraded brake fluid is one of the possible causes worth checking.
- Spots near callipers or master cylinder: Visible fluid on or around these components points to a brake fluid leak. Leaks need immediate attention. Do not ride a bike with a confirmed brake fluid leak.
- Low reservoir level: The level naturally drops slightly as brake pads wear, but a sudden or significant drop usually means a leak, not just wear.
💡 Tip:
Get in the habit of checking your brake fluid reservoir every time you do an oil check. It takes ten seconds and gives you early warning before any of the above symptoms appear.
Can You Change Bike Brake Fluid Yourself?
Yes, changing brake fluid is a DIY job if you have:
- A Brake Bleeding Kit (A Clear Tube and Catch Bottle)
- The correct DOT fluid for your bike
- A ring spanner or socket set for the bleed valve
How to Change Bike Brake Fluid in 10 Steps?
Step 1: Park on a flat surface
Set the bike on its stand on a flat, level surface. Make sure the handlebars are straight, so the master cylinder reservoir sits level. An angled reservoir makes fluid checks unreliable and complicates the bleeding process.
Step 2: Clean around the reservoir
Wipe down the area around the master cylinder reservoir with a clean cloth before opening it. Dirt or grit falling into the brake fluid contaminates the system immediately.
Step 3: Remove the reservoir cap and diaphragm
Unscrew the cap carefully. Underneath, you'll find a rubber diaphragm. Remove this too. Set both aside somewhere clean. Brake fluid is corrosive to paint, so keep it away from the bike's tank and bodywork at all times.
Step 4: Attach the bleed tube
Connect a clear plastic bleed tube snugly over the bleed valve nipple on the brake calliper. Place the other end into a clean catch bottle. The clear tube lets you see the fluid colour change as you work through the system.
Step 5: Pump the brake lever
Squeeze the brake lever slowly several times to build pressure, then hold it firmly depressed.
Step 6: Open the bleed valve
With the lever held down, use a ring spanner to open the bleed valve slightly, usually a quarter to half turn. Old fluid and any trapped air will flow through the tube and into the catch bottle. Watch for bubbles in the tube.
Step 7: Close the valve before releasing the lever
This is the step that matters most. Close the bleed valve before you let go of the brake lever. Releasing the lever with the valve open pulls air back into the system, which is exactly what you're trying to remove. Close first, then release.
Step 8: Top up the reservoir with fresh fluid
Check the reservoir level after every bleed cycle and top it up with fresh fluid. Do not let it run dry at any point during the process. Once air enters the master cylinder, bleeding becomes significantly harder.
Step 9: Repeat until the fluid runs clear
Continue the pump-hold-open-close-release cycle until the fluid coming through the clear tube looks clean and fully transparent, with no visible air bubbles. Cloudy, dark, or bubble-filled fluid means you keep going.
Step 10: Seal up and check
Tighten the bleed valve securely. Fill the reservoir to the MAX line with fresh fluid. Refit the rubber diaphragm and screw the cap back on. Pump the lever several times and confirm it feels firm. Check around the calliper and reservoir for any leaks before riding.
However, If you're not confident skip the DIY route. Take it to a workshop instead.
Find a Gulf-authorised garage near you
💡 Tip:
Brake fluid is aggressive on painted surfaces. If any fluid spills onto the bike's bodywork during the process, wipe it off immediately with a damp cloth. Left to sit, it will lift the paint.
FAQ
The Finish Line
Your brakes are the one system on your bike that can't be compromised. Engine oil keeps things running. Brake fluid keeps you safe. The check takes seconds: look at the reservoir colour, feel the lever firmness, watch for wet spots near the callipers. If anything looks off, act on it before the next ride.
Change your brake fluid on schedule, use the right DOT grade, and don't let a tight budget talk you into skipping this one. Your tyres, your engine, your chain. They all matter. But none of them matter more than your ability to stop.
Explore Gulf Oil brake fluids and products | Find a Gulf-authorised garage near you